


these little fabric headbands are some of the most versatile hair accessories ever. And they are also extremely comfy too. The part behind your ear is tapered fabric, which means no headband headache, but there is elastic on the back to keep it from sliding around on your head. Personally these are the perfect headbands for me (shh…and it’s not like I’m biased or anything because I make them).
Luckily, they are very simple to sew, and you can customize the fabric to match any outfit! This project takes about 20 minutes to make. easy peasy!
Supplies:
- A piece of scrap fabric about 5 inches by 15 inches. Or if you are buying fabric, 1/8 yard*
- Matching thread
- 1/4 inch wide (skinny) elastic. you’ll only need 9 inches at the most, depending on the size you make.
*See more about buying fabric at the bottom of post
Cutting out your pieces:

Toddler size (extra small): Cut fabric in a rectangle 3 3/4 inches x 12 inches. Cut a 7 inch long length of elastic (without stretching.
Younger kid…about ages 5 to 10…the sizes a very forgiving because of the elastic (small): fabric 4″ x 13″. elastic 7″
Preteen (medium): fabric 4 1/4″ x 13 3/4″. elastic 8″
Teenager or adult (large): fabric 4 1/2″ x 14 1/2″. elastic 8 1/2″
Sewing Instructions:
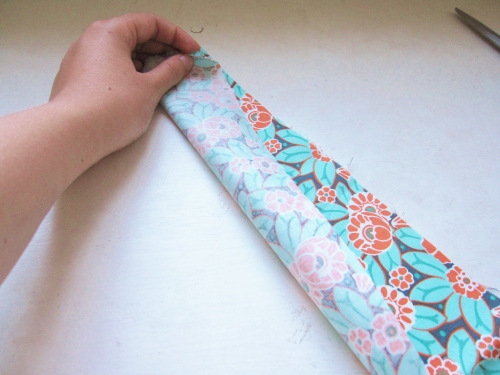
- Fold fabric rectangle in half long-ways, making sure that the wrong side is facing out. If you’re nervous about it wriggling around as you sew, you can pin it.
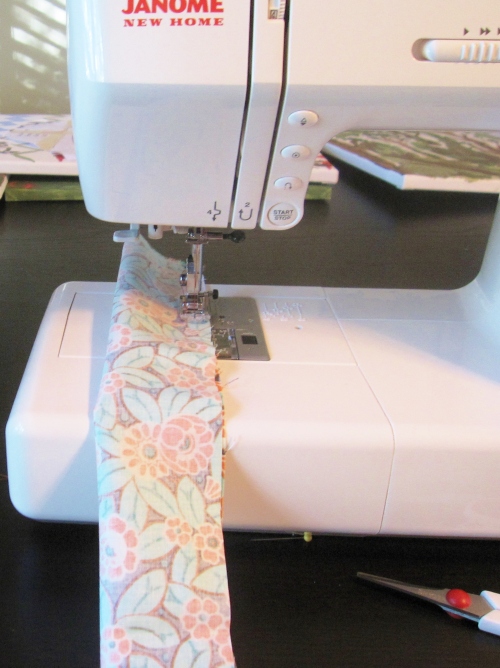
- Sew down the edge with a 1/4″ seam allowance.
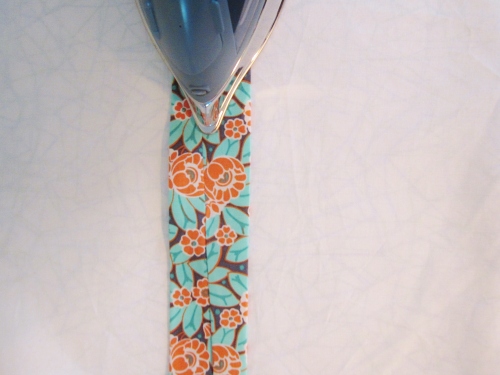
- Turn the long skinny tube right side out. The iron it flat with the seam running down the middle of one side. Hopefully with the picture that makes sense…
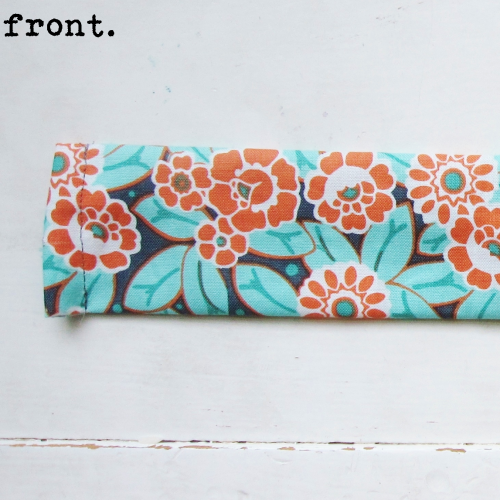
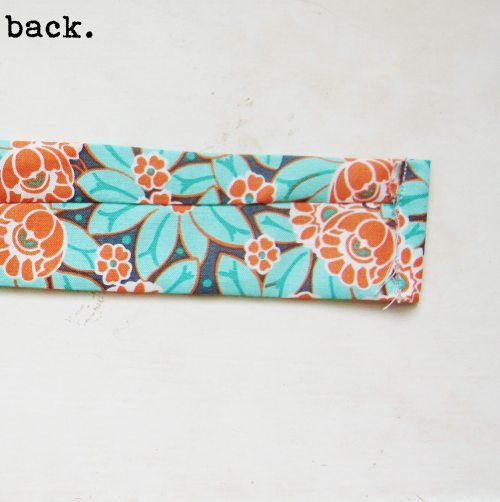
- Then you are going to iron down 1/4 inch on both of the short raw edges towards the side with the visible seam. Hem both of those short edges. Your headband so far should be a long skinny rectangle that looks like this:
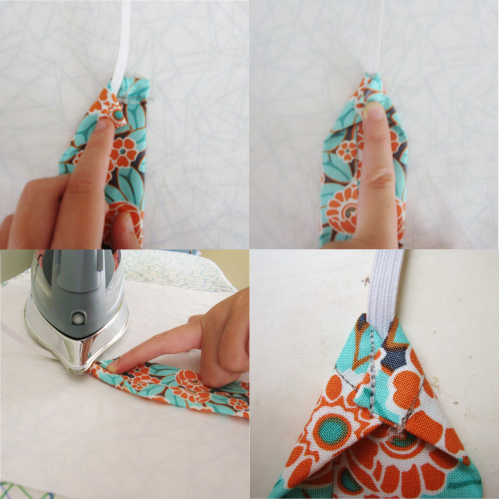
- Put the headband on the ironing board back side facing up. Stick your elastic on top of it, overlapping over the edge by a half inch or so. Then you are going to fold the corners (of the shorter edge of the rectangle) over on top of the elastic so it’s sandwiched in between the fabric of the headband. You should have a nice triangular end. Then iron it down really well. That probably sounded way more complicated than it is. (:
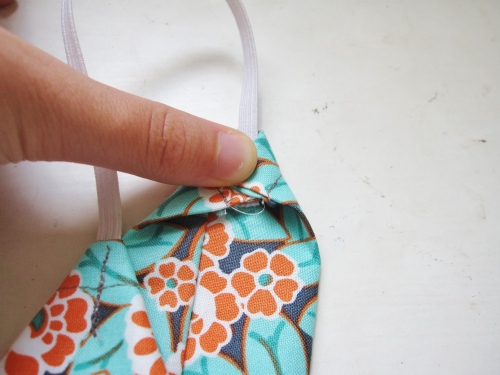
 then sew a vertical line down on top of where the elastic is tucked under the fabric (refer to the last picture). Back-stitch and go back and forth a couple times to make sure the seam is super strong. You wouldn’t want your elastic to rip out (major boo). That seam is probably the most fiddly part of the entire project, because the layers and elastic makes it really bulky. but now you’re almost done!
 - Sew the folded-over-corner-seam on the other side with the other loose end of the elastic. So you’re forming a loop…or a headband! (I bet you never saw that one coming (;)
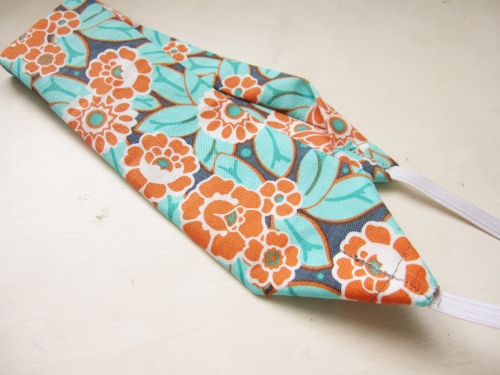
- Cut all the random loose threads off and you are done!


I’ve really been making these headbands for a really long time, as evidenced by Rose and Grace circa 2011. they’re so quick to make that they’re kind of a go-to project for me I guess!

If you want to make a bunch of headbands at once for gifts or craft fairs or something, then I can fit three headbands across one standard 44″ wide piece of fabric. So 1/8 yard of fabric will make 3 headbands, 1/4 yard can fit 6, and 1/2 yard can fit 12. Since you hardly use much fabric, I enjoy splurging on some of the cute designer stuff. (:
please please let me know if you have any questions!
have a good rest of the week!

")
")
")
")


ahhh so great! I am envious of our tutorial writing skills! 🙂
LikeLike
Pingback: Life, Currently: Photography derps, some Busyness, and Business | Periwinkle Lane
Pingback: Hello, 2016. | Periwinkle Lane