
You know those funny shirts that you see on pinterest? (You know the ones I’m talking about). You can definitely make them yourself at home…no sewing skills required!
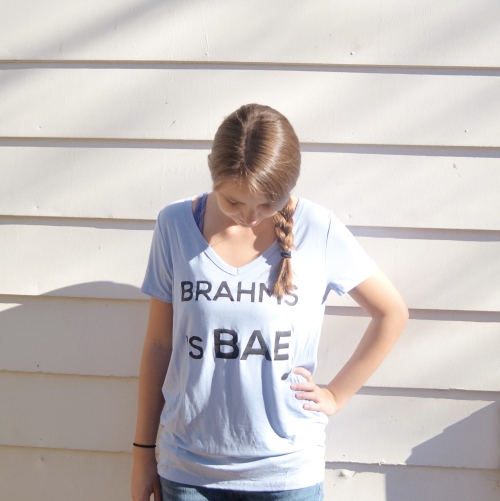
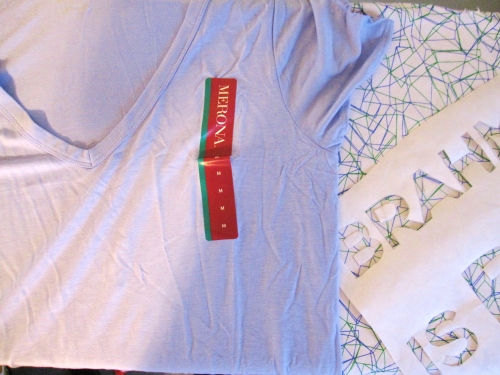
I mean, you could always order a custom shirt, but that can get really expensive. This works also for those inside jokes that you want on a t-shirt! Speaking of which…I should probably explain this shirt that I’m using for the pictures in the tutorial. Yes, it does say “Brahms is bae,” and it was a moving-away gift for my amazing friend who is also a classical music nerd. You can read her blog and the post that inspired this shirt here.
Let’s get started!
Materials:
- A solid color t-shirt
- Freezer paper (find it at the grocery store in with the tin foil and plastic wraps)
- Acrylic paint
- Fabric medium (can use regular fabric paint instead).
- A foam spongy brush
- Access to a printer
- Masking tape
Instructions
1.) First, print out what you want to put on your shirt. I used a text box in Microsoft publisher to print this out, nothing fancy. Whatever you print will be the actual size, so make sure it is big enough! You’re going to have to cut all the letters out, so keep it fairly simple if you want this to be a quick project. 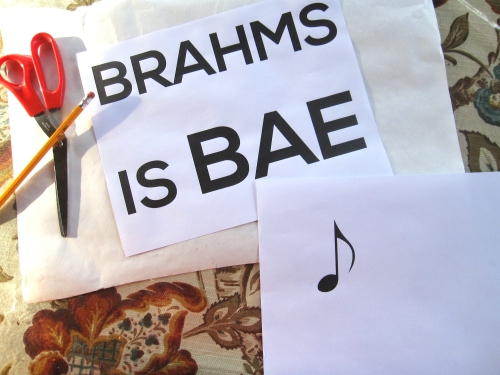
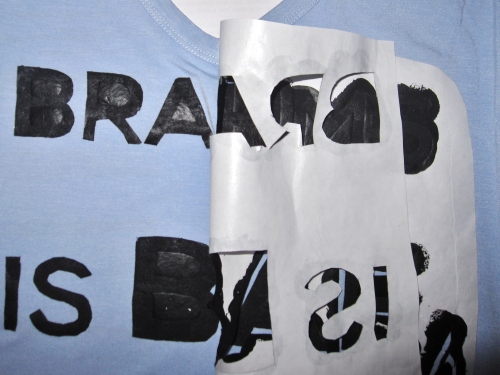
2.) Freezer paper has two sides: a shiny side that you’ll eventually iron to the shirt, and a matte side. Tape the words face down to the shiny side, oriented like you want them to appear on the front of the shirt.
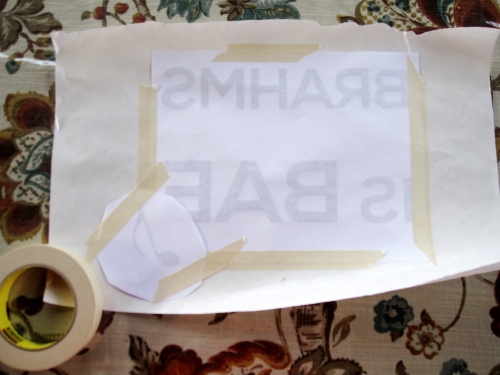
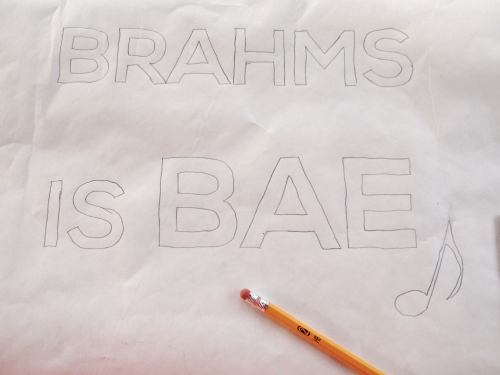
3.) Flip it over to the dull side and trace all the letters/pictures.
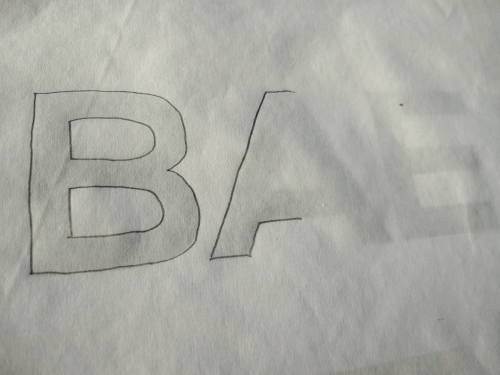
When you’re done, you can peel off the printer paper. You won’t need it anymore!
4.) Now, carefully cut out every letter. You’re essentially making a stencil, so the inside of the block letters can be as messy as you want. To start each letter, poke the scissors through the middle of the letter. Don’t cut through the white space around the letters!
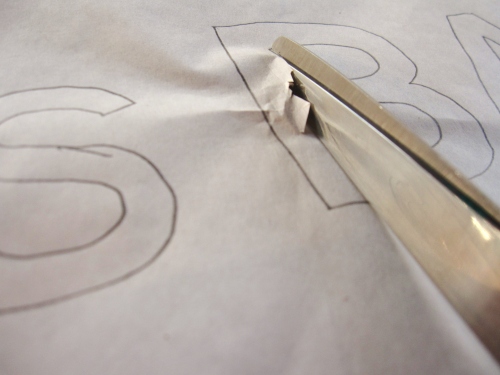
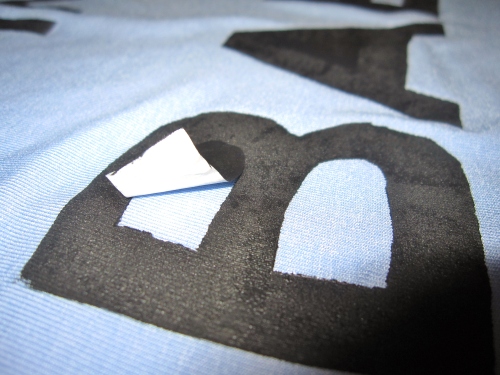
Also be sure to keep the inside “holes” of the letters, like inside the B and A. This is the most tedious part of the project. I’m sure if you had some exacto-knife skills it could go a lot faster, but scissors work for me!
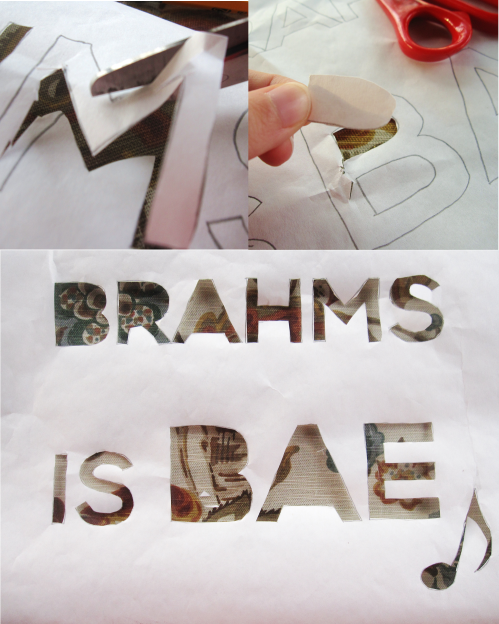
Ta daa, one custom t-shirt stencil. The rest is a breeze!
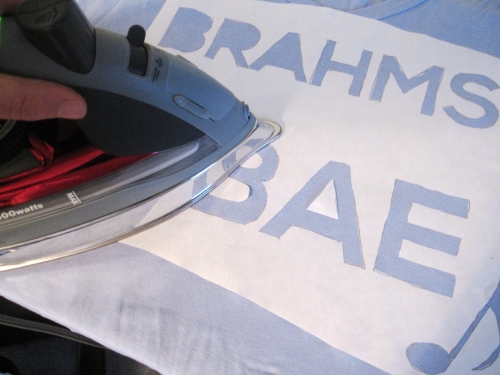
5.) Take your shirt and put paper in the middle to keep the paint from seeping through to the back. Then iron the stencil right on the front (or back if that’s what you want) of the shirt, shiny side down.
Be sure to add back your middles-of-letters!
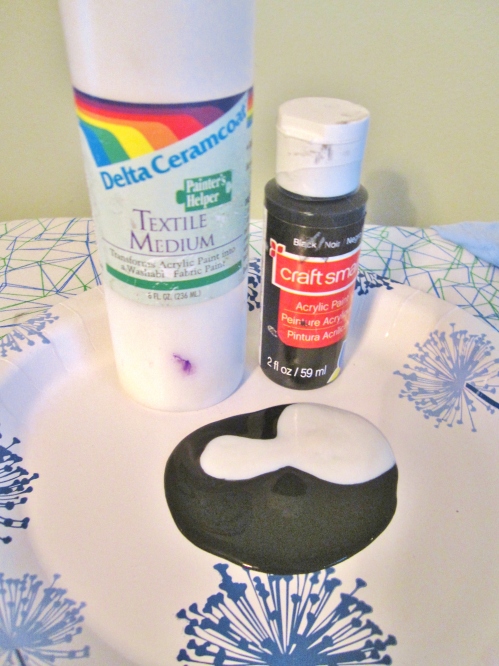
6.) Mix your fabric medium and acrylic paint based on the instructions on the bottle. This stops the from cracking when you wash it. If you are using fabric paint, you can skip this step.
7.) And sponge the paint on the shirt stencil! This is the fun part.
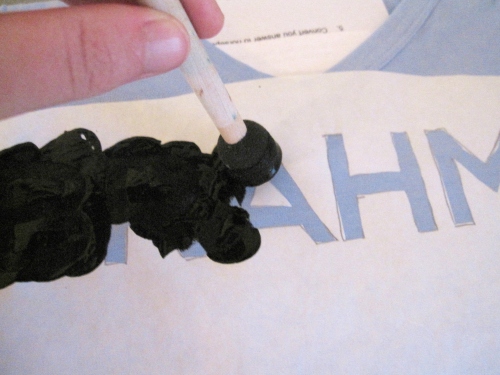
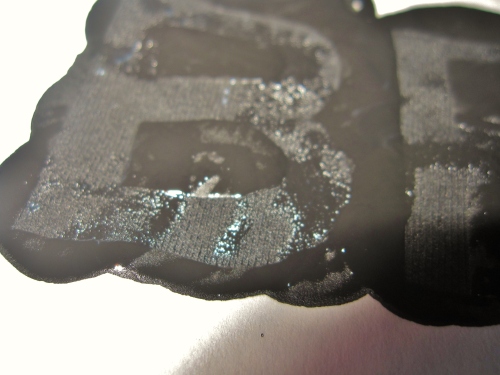
You can see in this weird looking picture how it’s starting to dry. If your shirt is a dark color you may need to do two or three layers, drying between. Make sure it is completely dry before removing the stencil.
8.) Peeling it all away is oddly satisfying.
9.) Set the paint by ironing over it, per the directions on the fabric medium bottle. Your shirt will be machine washable and dryable…and I love how it fades softer after washing it over and over!
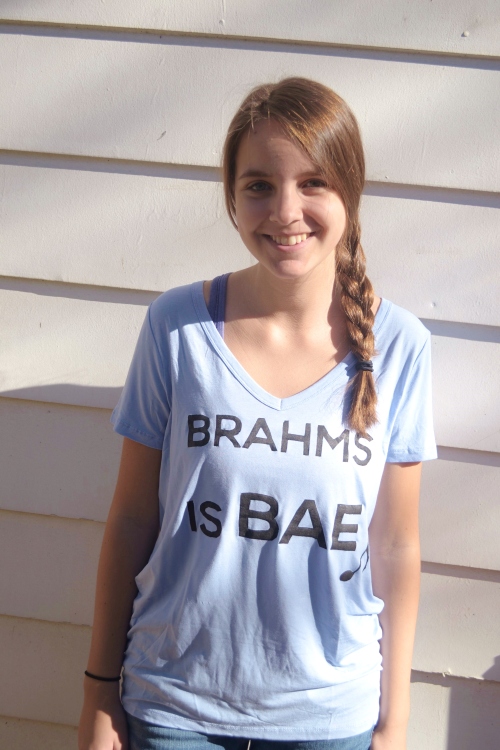
Done! Enjoy your super unique shirt…last minute gift idea maybe?
Have an amazing Christmas break, whether you spend it DIY-ing, listening to classical music, or spending time with family and friends!
P. S. Thanks, Eden for letting me try on your present for about five minutes! (:

")
")
")
")


Great post, Lane. I did not know you did t-shirts.
LikeLike
Lane! You look amazing in my present! 😉
LikeLiked by 1 person
I’m sure you could rock it more. 😉
LikeLike