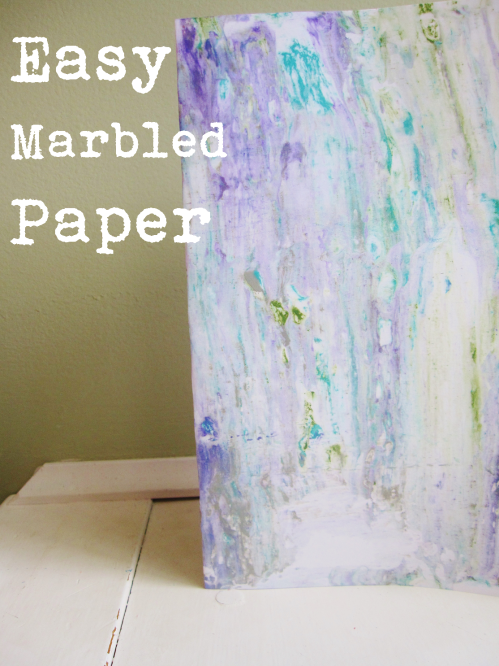
Marbling looks deceptively difficult to create. The pattern is so pretty! Unfortunately, the supplies used for traditional marbling paper are not things you’d usually have on hand, and kind of expensive (marbling ink, or oil paints and turpentine?!). Here’s an easier way to get the sane results using shaving cream! I’ll share some tips for doing the craft in a craft camp setting at the end of the post.
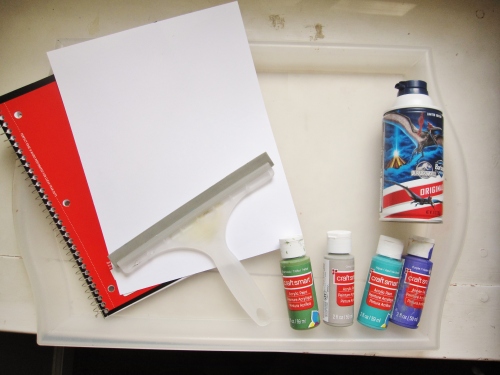
Supplies:
- A tray
- Cardstock (printer paper works as well, but I think the design on cardstock looks crisper)
- Shaving Cream
- Acrylic paints
- Either a squeegee or ruler to scrape
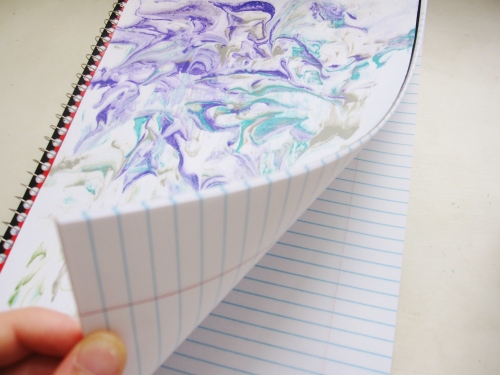
- Optional: you can glue your paper to a spiral bound notebook for fun (:
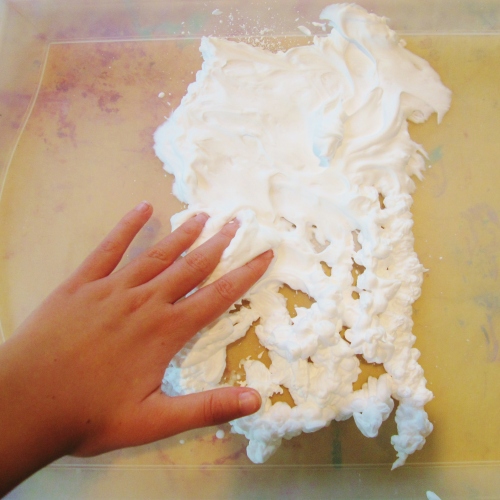
(1). First, squirt some shaving cream on a tray, and spread it out with your hands. You’ll want a thin layer about the size of your cardstock.
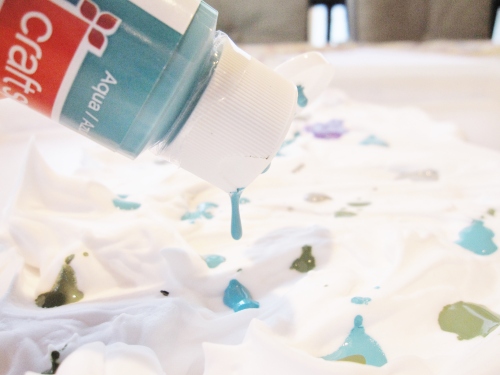
(2). Pick out the colors you want to include in your design, keeping in mind that they will probably mix a little bit. Dot some paint all over the shaving cream. You don’t need very much at all…a little will go a long way!
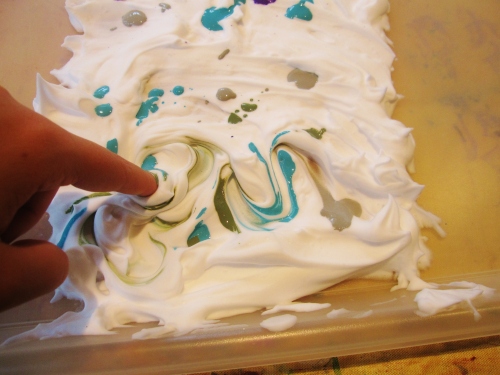
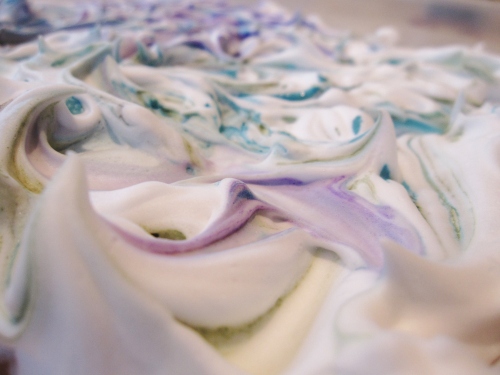
(3). This is the fun part! Swirl the paint around in the shaving cream, using your finger or a toothpick for more control. You want to leave some white, so be sure to go easy (you don’t want a solid color). That way you can see the cool marble-y texture.
Yum yum….I kind of wish that was frosting.
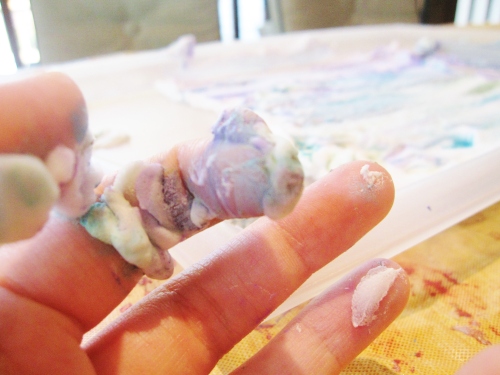
Oh well. Messy projects are the most fun, right? (Throwback to blue hands in the hair dyeing adventures).
You could also try a different, less swirly look by pulling the squeegee lightly across the top of the paint/shaving cream.
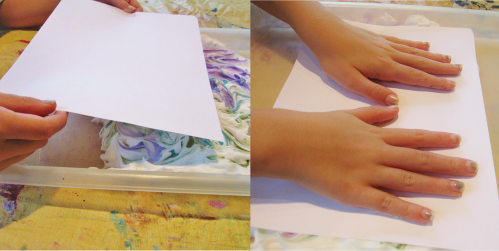
(4). When you have marbled to your desire, put your cardstock right on top of the shaving cream, and press down without wiggling the paper around.
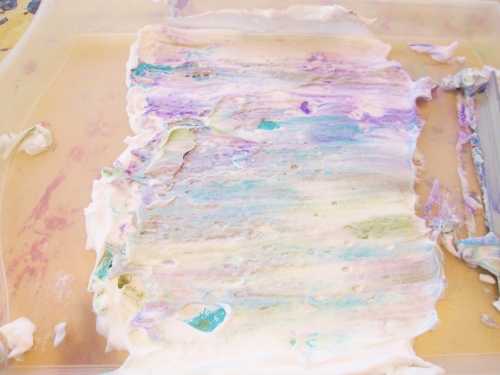
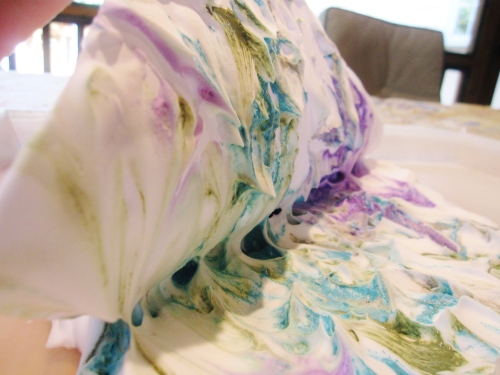
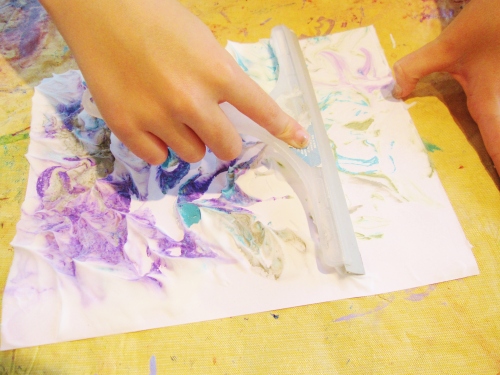
(5). Peel the paper off. Now comes the cool part that probably has a science explanation that I don’t remember: use the squeegee or the long flat part of the ruler to scrape off all the shaving cream from the cardstock. The design with acrylic paint will stay on the cardstock!
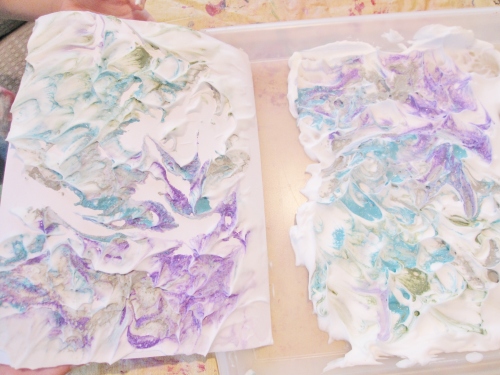
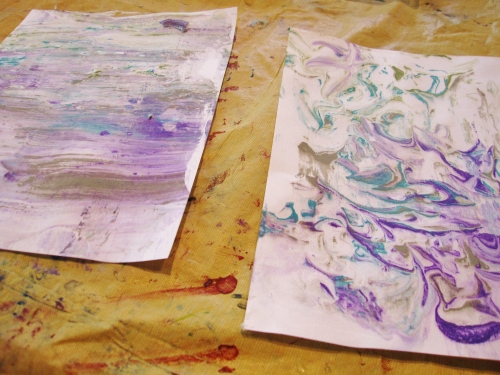
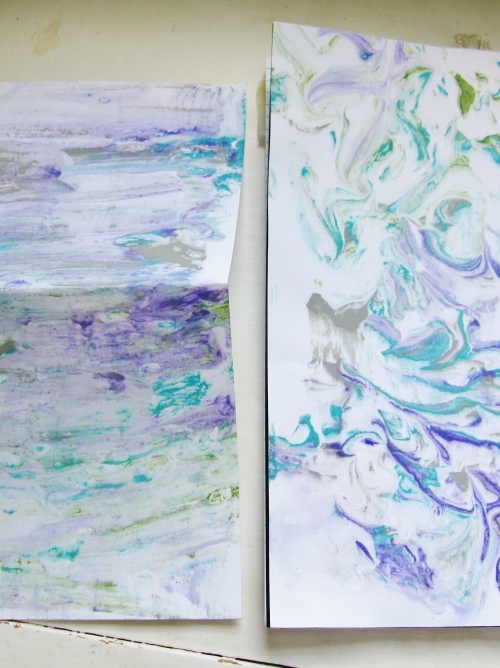
(6). And let it dry! On the right is the finger swirl technique, and on the left is the squeegeeing over the paint technique. Those are very official technique names, I know. (:
When I did this project with Creative Chicks, we attached our paper to spiral bound notebooks. Hot glue, tape or mod podge will work! You could also use the paper to make cards or for scrapbooking.
Some tips for doing the craft in larger groups: depending on the kids age, you may have to squirt the shaving cream or drop the paint colors they want for them (that way you don’t use up all your supplies on the first session. (;). If you are doing it with elementary school kids, you probably want to do it in a small group, 5 or 6 girls max just because it can get messy if you aren’t watching. One bottle of shaving cream was enough for about 4-5 notebooks if you made sure to use thin layers. Marbling is really good for camps because it’s fun to make and the results look very nice!
If you give it a try, let me know!
happy Tuesday. (:

